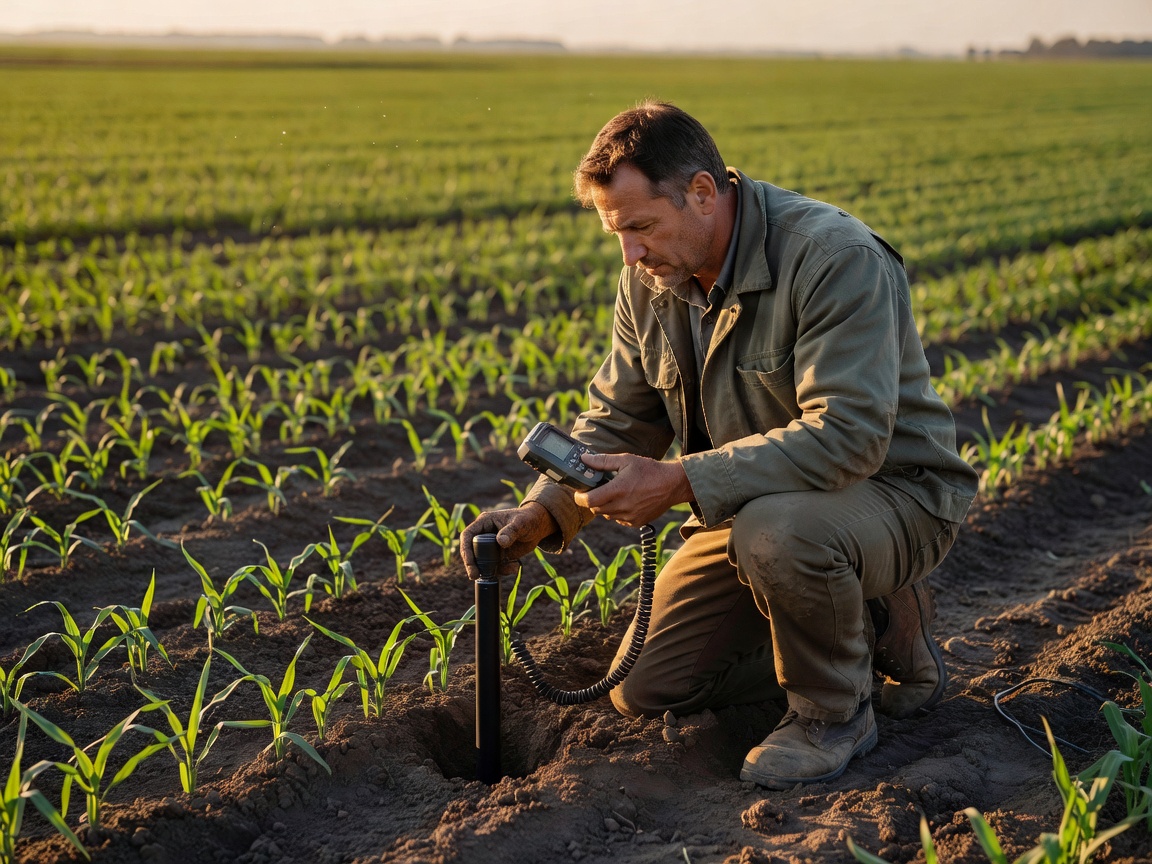
Useful irrigation decisions start with observations that represent the crop’s root zone. That sounds straightforward, but a sensor only describes its own location and its own measurement principle. The work is to choose suitable tools, install them thoughtfully, keep them functioning and interpret their signals alongside what a person sees in the field.
Choose a question before choosing an instrument
Ask what information would change a decision. Is the concern when to begin irrigation, how deeply a recent application wetted the profile, whether different management zones behave differently, or whether rain is likely to meet near-term crop demand? A clear question narrows the choice of measurement and helps avoid collecting numbers without a plan for using them.
Soil-moisture sensors include capacitance and frequency-domain instruments, time-domain reflectometry tools, tensiometers and other devices that estimate water status in different ways. Some estimate volumetric water content; others indicate how strongly water is held in soil. Their readings are not interchangeable without understanding the method, calibration, soil texture and operating range. Follow manufacturer instructions, record the model and configuration, and do not infer that two devices agree simply because their displays use similar units.
Place sensors to represent a management zone
Installation should reflect the crop and the field question. Root activity changes with crop species, growth stage, soil profile and management. A shallow reading can respond quickly to rain or surface irrigation but may not describe water available deeper in the root zone. A deeper instrument can help show whether water has moved down the profile, though it may respond slowly. Multiple depths can reveal a wetting pattern more clearly than one isolated measurement.
Consider soil texture, slope, field edges, irrigation layout, crop variability and likely problem areas when choosing positions. Avoid treating an unusual spot as representative unless that variability is exactly what you intend to monitor. In drip systems, position relative to the emitter and crop row matters. In sprinkler systems, placement should account for the distribution pattern and obstructions. Mark each location, document depth and orientation, and make the location easy to revisit.
A field may need more than one monitoring point. The purpose is not to install equipment everywhere; it is to capture the important differences well enough to make decisions that can be checked. A management zone is a working simplification, not proof that every plant within it experiences identical conditions.
Combine soil observations with weather and crop context
Weather information helps interpret the direction and pace of change. A nearby station may measure rainfall, air temperature, humidity, wind and solar radiation. These observations contribute to estimates of crop water use, but a station’s exposure, maintenance and distance from a field can affect how relevant its records are. Rain gauges need to be placed and checked so that readings are not distorted by roofs, trees, splash or wind exposure.
Weather-based estimates such as reference evapotranspiration are useful inputs, not direct measurements of every crop’s actual water use. Crop coefficients, growth stage, canopy condition and local management influence how an estimate should be applied. Public agricultural weather networks, including state and regional networks in the United States, illustrate the value of consistent observations; local station coverage and methods vary, so check the source and assumptions behind data used in a schedule.
Crop observations add a necessary ground-level view. Leaf condition, canopy development, growth stage, rooting constraints and signs of stress can help explain unexpected readings. Visual symptoms may appear after stress has begun, and similar symptoms can have different causes. Use them as a reason to investigate rather than as a standalone diagnosis.
Read a trend, not a stray number
Before acting on an unusual value, check whether the sensor is connected, correctly configured and still in good contact with soil. Compare its trend with recent rain, irrigation events and readings from nearby depths or locations. A flat line may signal stable conditions, but it may also indicate a failed sensor. An abrupt change may reflect a real wetting event, a cable fault or a changed installation. Keep a log of irrigation times, rainfall, repairs and sensor changes so patterns can be checked later.
Calibration and interpretation are especially important when converting a sensor output into a threshold. Soil-specific calibration can improve the relationship between instrument response and field conditions, while field checks can expose installation or contact problems. Thresholds should be revisited as crop stage, rooting and management change. A value that works as a useful alert in one soil or zone may not translate directly to another.
Make maintenance part of measurement
Inspect housings, connectors, cables, batteries, station screens and mounting hardware on a routine that fits the season and equipment. Remove debris where appropriate, protect wiring from field operations and replace damaged parts. Record the date and the action. If a sensor is moved or reinstalled, treat the resulting record as a new measurement location rather than silently joining it to the old series.
Think of the data record as a ledger: note where each observation came from, what it measures, when it was collected and what might affect it. Keep a simple record of soil type, crop, depth, sensor model, maintenance and nearby irrigation equipment. When readings do not match field observations, investigate the difference. That disagreement can expose an installation problem, a local variation or a mistaken assumption about the zone.
Neither a sensor nor a dashboard guarantees a particular water saving or crop outcome. The value lies in better-informed questions and a clearer connection between measurement and action. Sensor information becomes useful when it is interpreted locally, paired with practical observations and verified after water is applied.